Building PCs
Key Takeaways
- Understanding each PC component is crucial for a successful build.
- Choosing the right parts can ensure optimal performance.
- Proper assembly can prevent common issues and prolong the lifespan of your PC.
Building a custom PC can be an exciting endeavor, whether you're a gaming enthusiast, a professional designer, or a casual internet user. In this comprehensive guide, we will cover everything you need to know about building a PC, from understanding the necessary components to step-by-step assembly. By the end of this article, you'll be well-equipped to create a machine tailored to your specific needs.
Why build a custom PC?
Building your own PC offers numerous advantages over purchasing a pre-built system. Here are some reasons why you might consider taking the plunge:
- Customization: Build a machine tailored to your needs, ensuring you get the right components for gaming, graphic design, or any specific task.
- Performance: Choose high-performance parts that can outperform standard configurations.
- Cost-Effective: Potentially save money by selecting parts that suit your budget rather than paying for unnecessary features.
Essential PC components
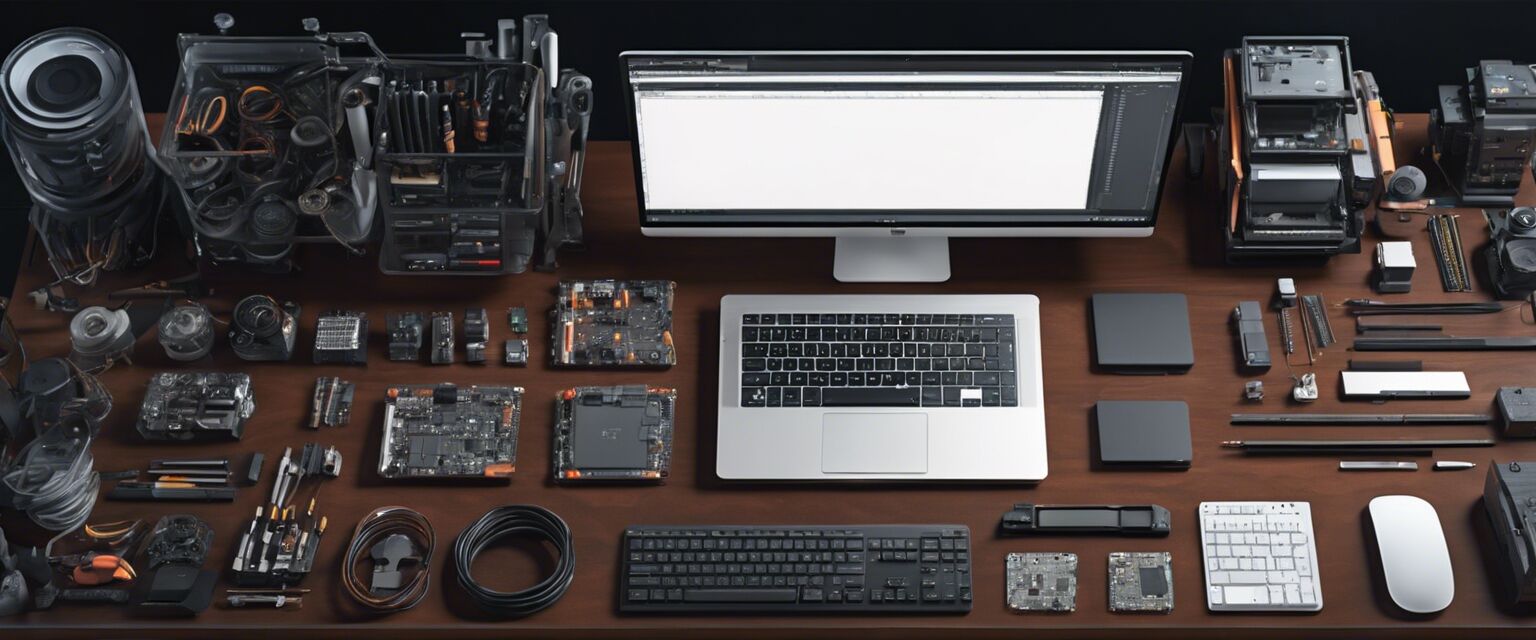
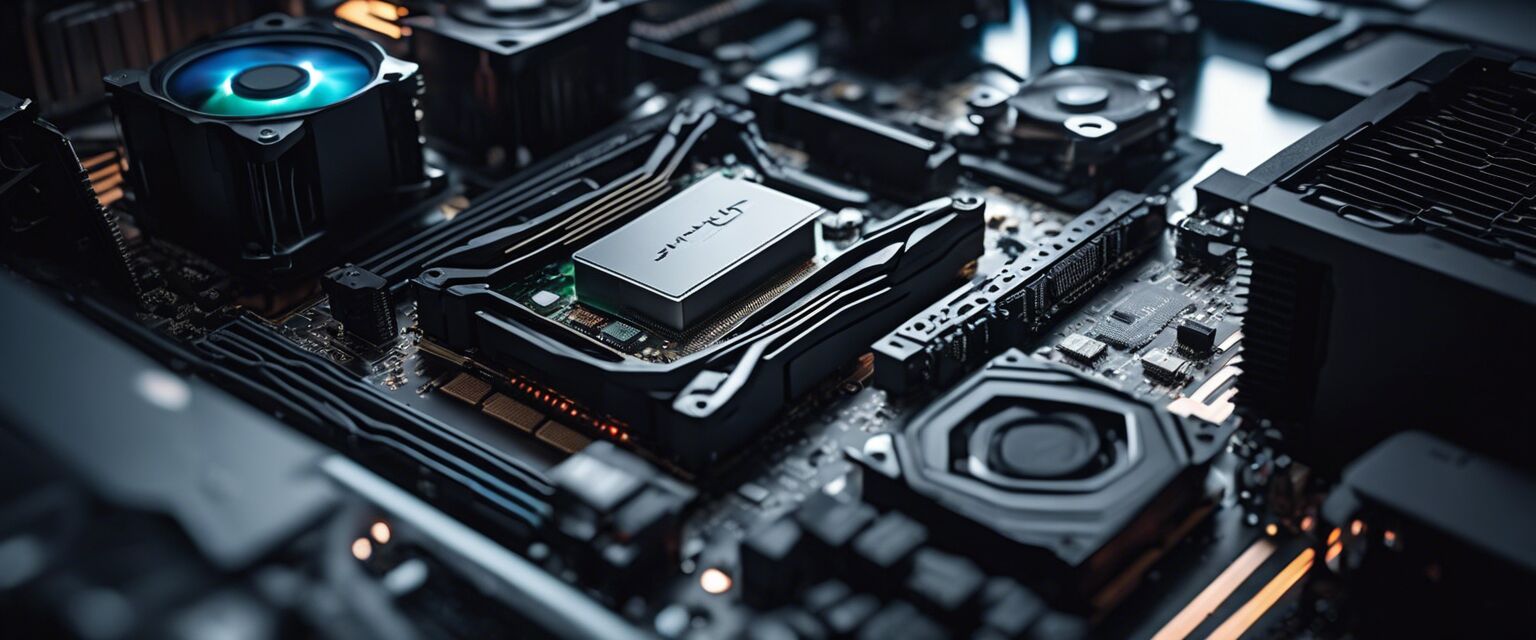
To build a PC, you'll need to understand the core components that make it function. Below is a table outlining some essential parts:
| Component | Description | Purpose |
|---|---|---|
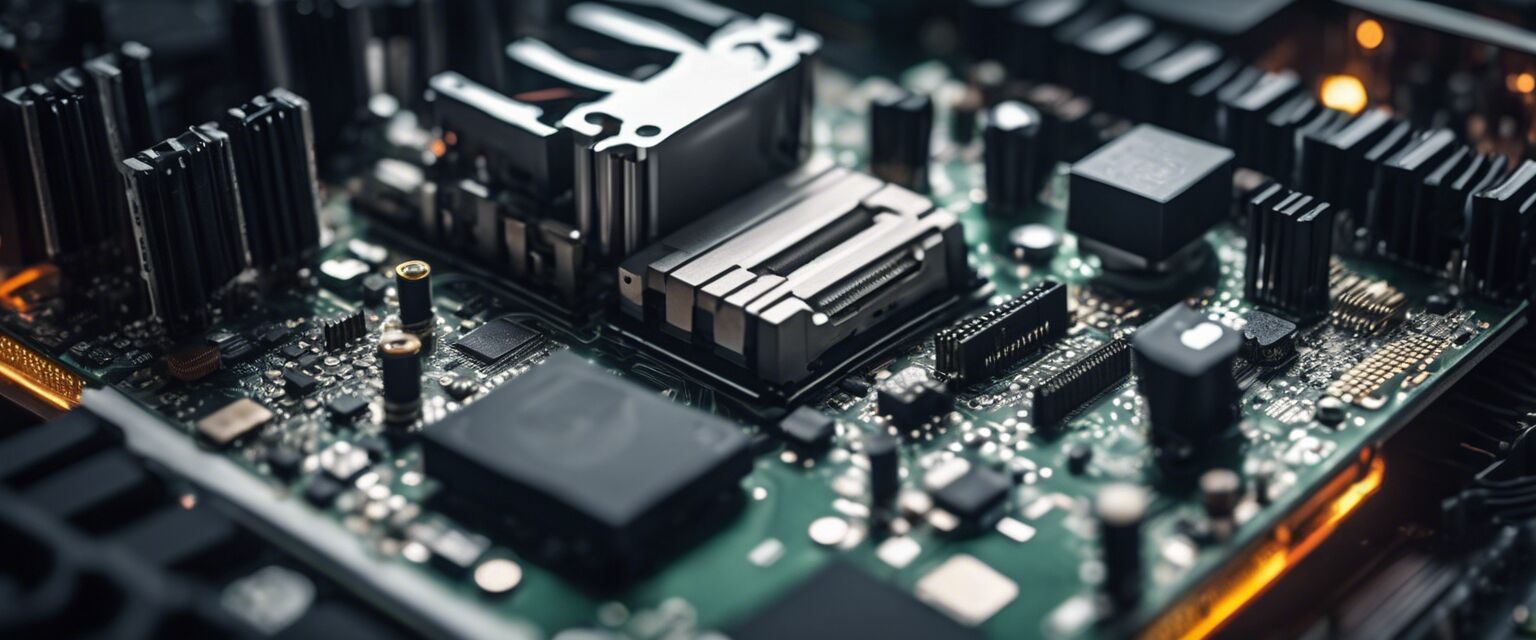
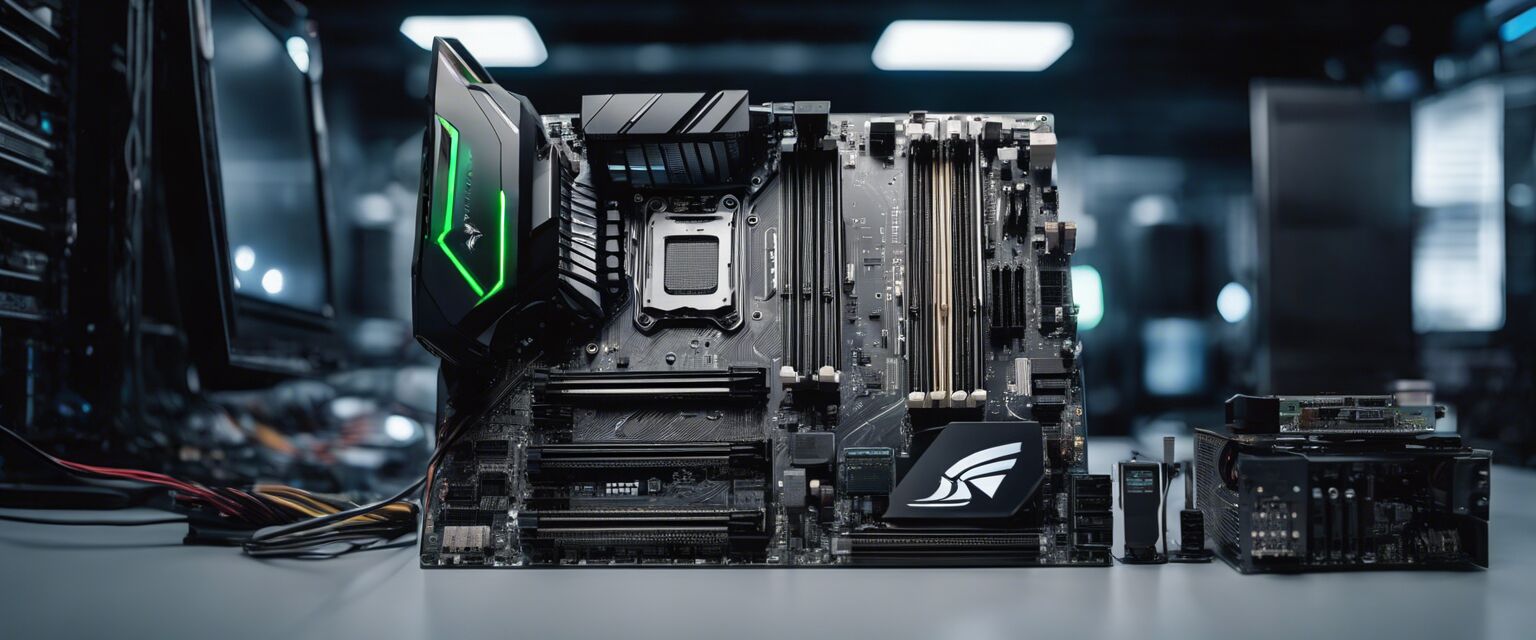
| Motherboard | The main circuit board connecting all components. | Acts as the backbone of the PC. |
| Processor (CPU) | The brain of the computer, performing calculations and processing tasks. | Handles all instructions and computations. |
| Graphics Card (GPU) | Hardware that renders images and video. | Crucial for gaming and graphic-intensive tasks. |
| RAM | Memory that temporarily stores data for fast access. | Aids in performance during multitasking. |
| Storage (HDD/SSD) | Devices that store your data and files. | SSD offers faster speeds compared to HDD. |
| Power Supply Unit (PSU) | Supplies power to all components. | Must provide enough wattage for all parts. |
| Case | Enclosure that houses all components. | Protects the hardware and allows for airflow. |
Choosing the right parts
Selecting the right components is a crucial step in the building process. Here's how to approach it:
- Determine your budget and desired performance level.
- Research compatibility between components.
- Look for reviews and benchmarks to assess performance.
Step-by-step guide to building your PC
Follow this detailed approach for assembling your computer:
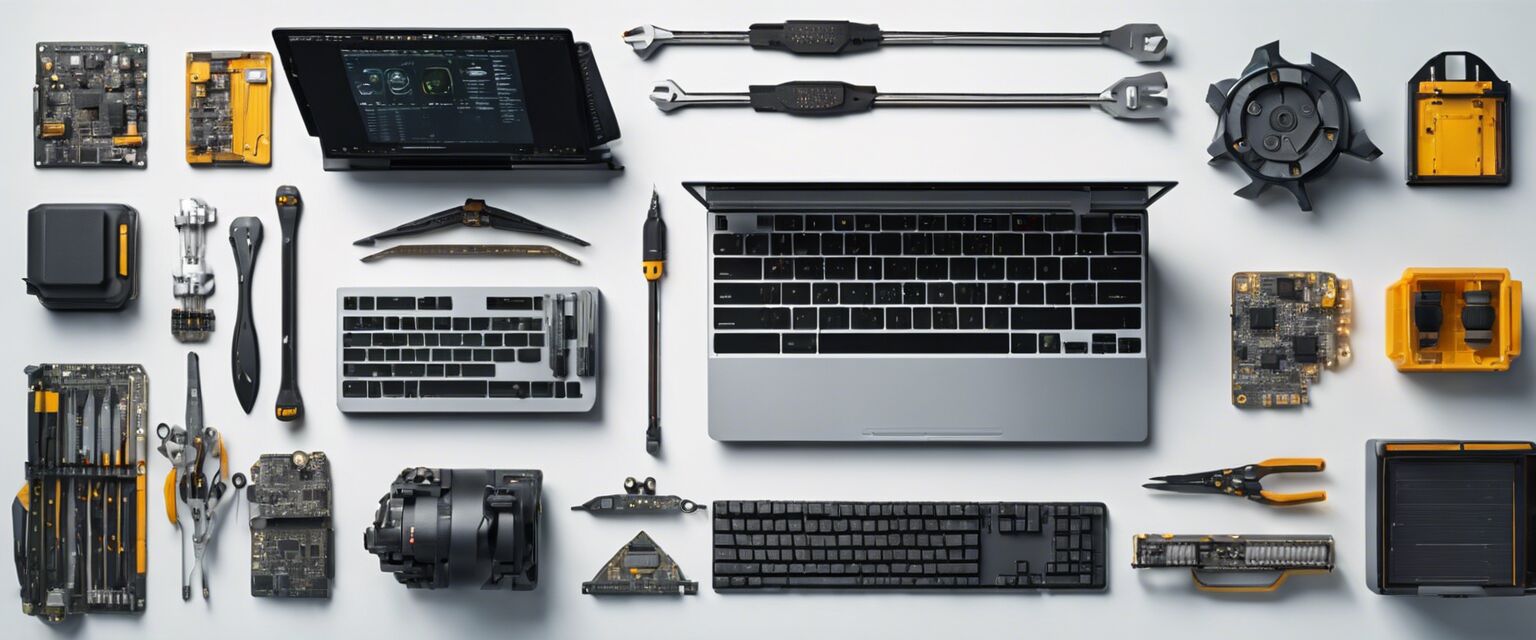
- Gather your tools: You'll need a screwdriver, zip ties, and potentially an anti-static wrist strap.
- Prepare your workspace: Ensure you have enough space and good lighting.
- Install the CPU: Follow the motherboard's instructions for seating the CPU correctly.
- Add RAM: Insert RAM sticks into their respective slots.
- Mount the motherboard: Secure it inside the case using screws.
- Install the power supply: Ensure the power supply is correctly positioned and secured.
- Install storage devices: Attach SSDs or HDDs to the case.
- Install the GPU: Slot the graphics card into the PCIe slot on the motherboard.
- Connect cables: Manage power and data cables appropriately to avoid clutter.
- Test and troubleshoot: Power on the system to ensure everything functions correctly, and fix any issues if needed.
Common mistakes to avoid
While building a PC can be straightforward, mistakes can happen. Here are a few common ones to watch out for:
- Not checking compatibility of parts.
- Forgetting to apply thermal paste to the CPU.
- Not managing cables, leading to poor airflow.
Pros
- Complete control over your build.
- Potentially lower cost.
- Ability to upgrade easily.
Cons
- Time-consuming process.
- Requires research and planning.
- Risk of damaging components if not careful.
After the build: Setting up your PC
Once your PC is built, itâs time to set it up:
- Install the operating system.
- Update drivers for optimal performance.
- Install necessary software and applications.
Resources and further reading
To expand your knowledge in PC building, check out some of our other articles:
Conclusion
Building a custom PC can be a rewarding project that gives you complete control over your computing experience. By understanding the components, following the assembly process correctly, and avoiding common pitfalls, you can create a machine that suits your needs perfectly. Embrace the journey of building your custom PC, and enjoy the performance and customization it offers.
